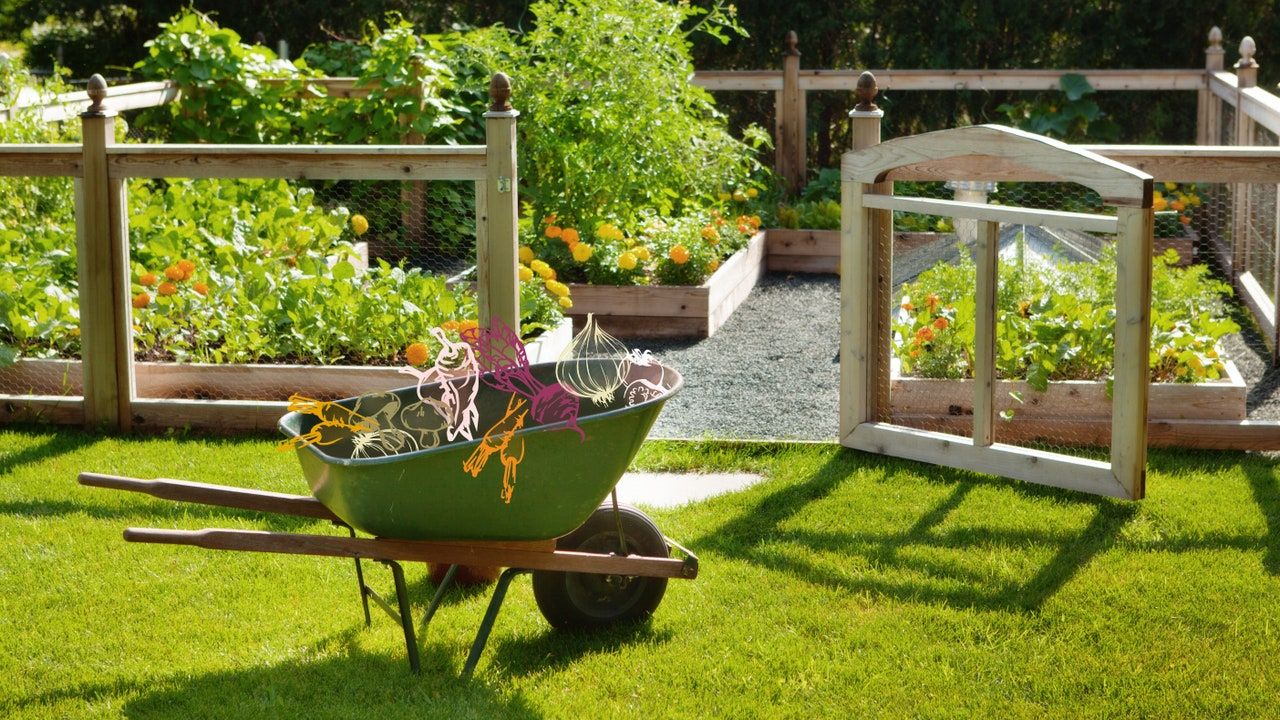
A tiny garden is a terrific way for youngsters to learn about nature and the significance of respecting and caring for the environment while also being a fun and helpful activity.
Today we’ll show you how to make small orchards by repurposing anything from an egg cup to rain gutters, bottles, or pallets into seedbeds that you can decorate.
1. Seedling in an egg cup
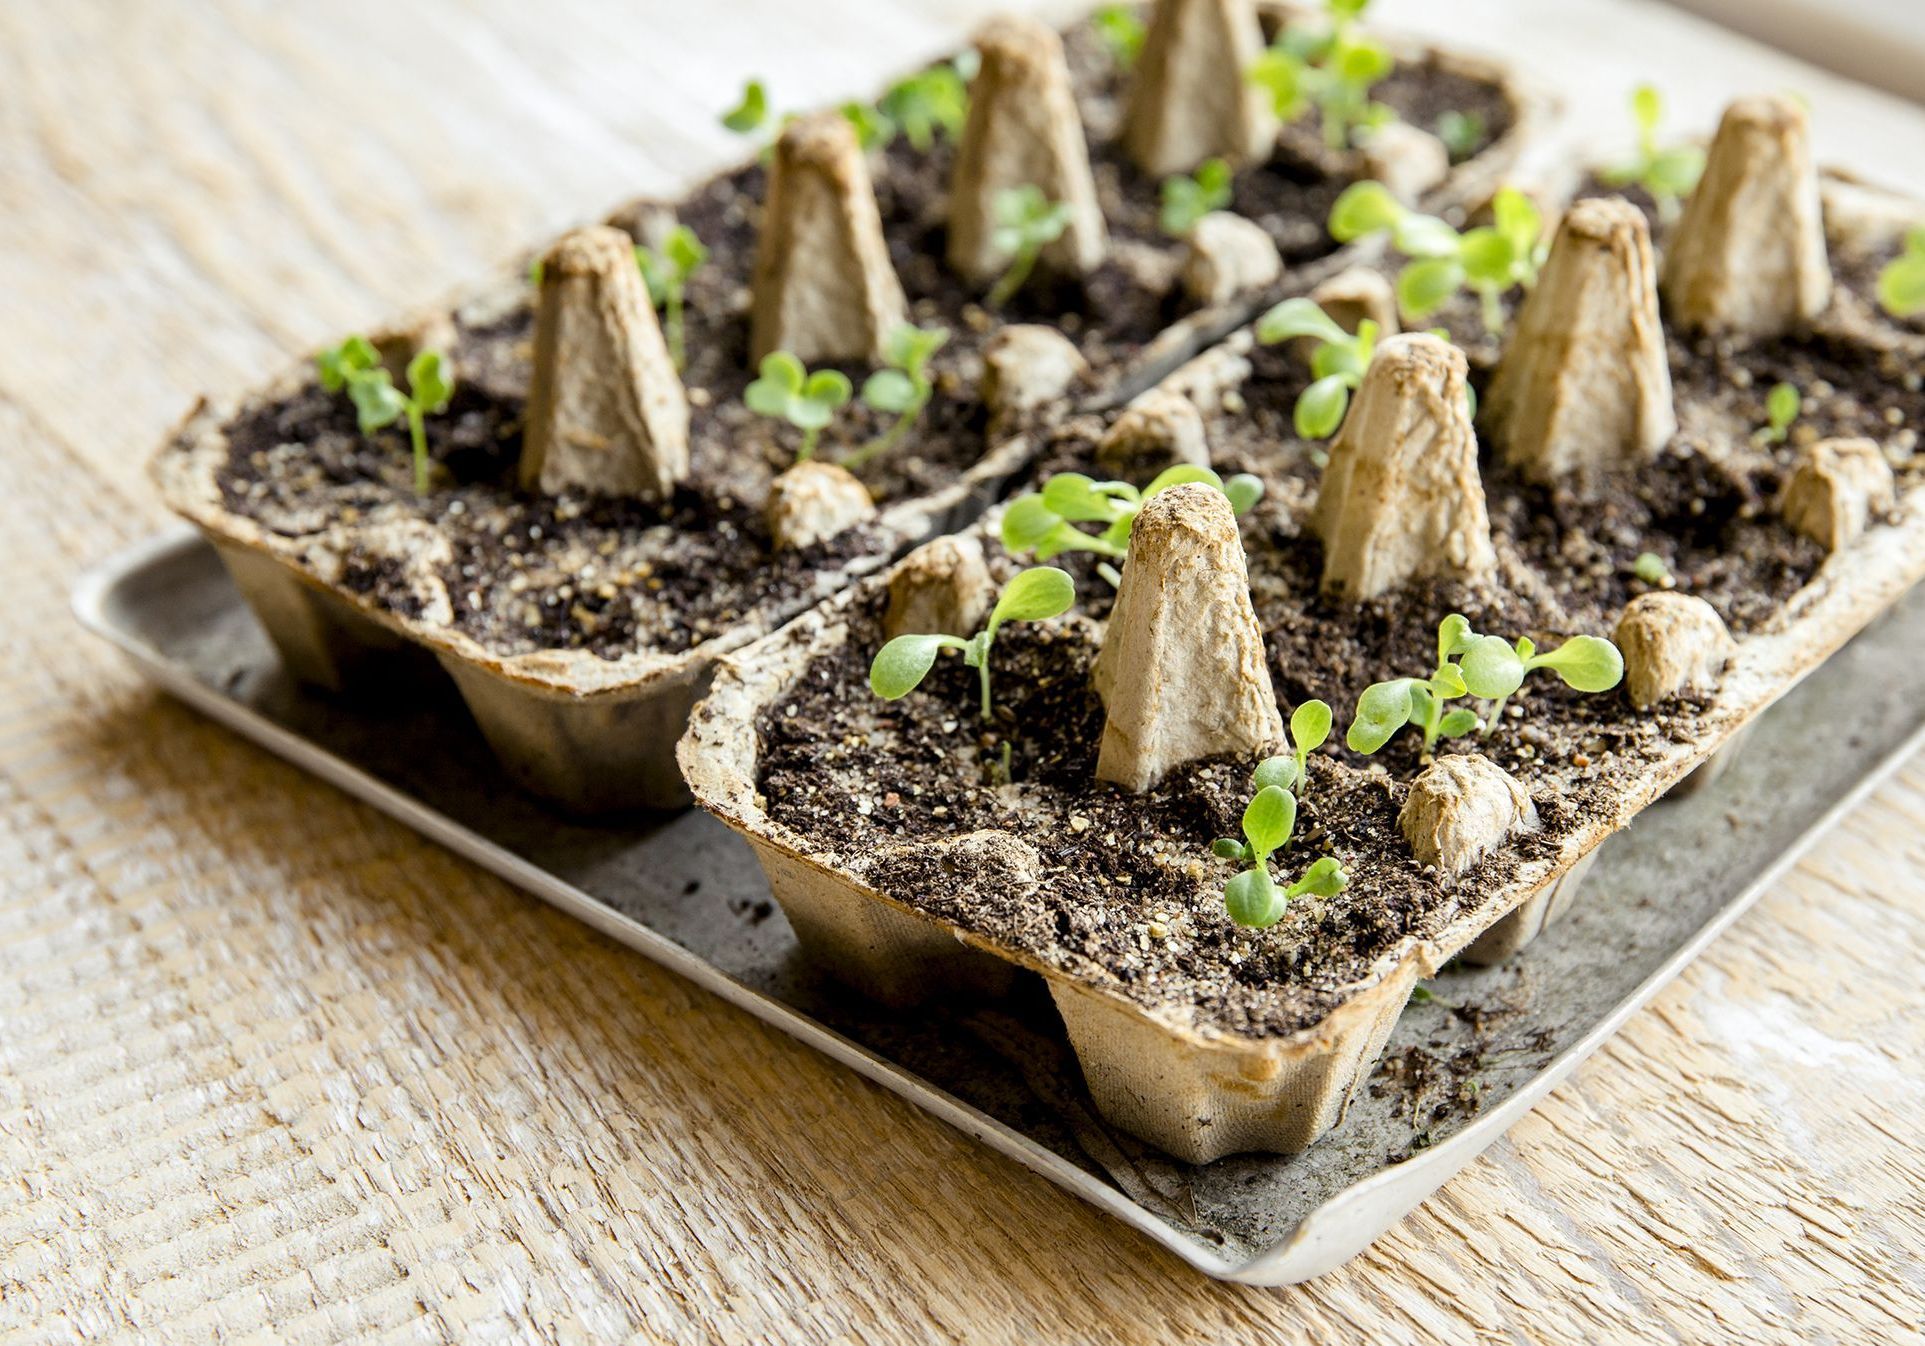
Something as basic as an egg cup can become a child’s first seedbed. When the sprouts start to form, it’s time to transplant them to continue the process of your tiny home garden.
Materials:
- Poster template
- Felt pens
- Scissors
- Glue
- Colored cardboard
- Half a dozen egg cup
- Tempera
- Brushes
- Soil/substrate
- Seeds
Steps:
- We cut out the small placards and wrote the names of the plants on them.
- Fill the egg cup holes halfway with the soil.
- We put one or two seeds of each veggie in each hole and fill them with soil up to the hole’s edge.
- We place a small sign with the name of the respective vegetable in each planted hole.
- We made the sign by gluing the name card to cardboard, cutting it out, and gluing it to an ice cream stick.
- As a signal, we poked the ice cream stick in each hole with soil.
- We seal the egg cup and use markers or tempera paint to decorate the top (loading and wetting the brush very little).
- Cut a square of colorful cardboard and attach it inside the egg cup on the lid with a dedicated text for the person you want to give it to. The egg cup is then closed, a strip of cardboard is cut, wrapped around it, and a small piece of ribbon is tied around it.
- And ready! We already have a tiny portable garden that we can take home and care for.
2. Mini garden with self-watering
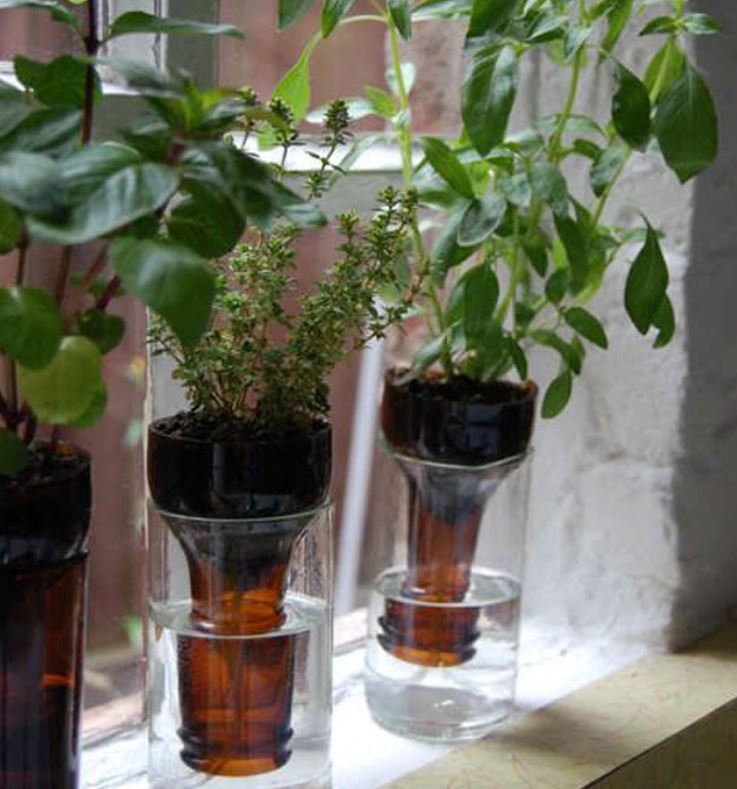
Having a garden or a tiny orchard at home is difficult if you spend a lot of time outside and do not have time to care for it. The solution is to install an automatic watering system in your home garden.
Materials:
- Glass bottles (small bottles or wine bottles to create larger gardens)
- Glass cutter
- Sandpaper
- Natural rope or thick wool
- Fine grid
- Scissors
- Glass container that holds the bottles without resting on the base
Steps:
- Small bottles or glass bottles should be cut.
- Sand the surface to make it less painful.
- Make a fine mesh square.
- Make a hole in the center with the scissors to accommodate the rope or thick wool. Increase it by two. It is the wick through which the water will pass.
- Insert the grid into the glass container.
- Wrap the rope around your neck. Allow it to dangle.
- Fill the bottle with soil and the plant you wish to care for and use it as a pot.
- Fill a portion of the glass container with water and insert your handmade pot.
- You can also use plastic bottles instead of glass bottles; the crucial thing is that they have an expanded neck so that the soil does not come into direct contact with the water.
3. Herbarium with kitchen utensils
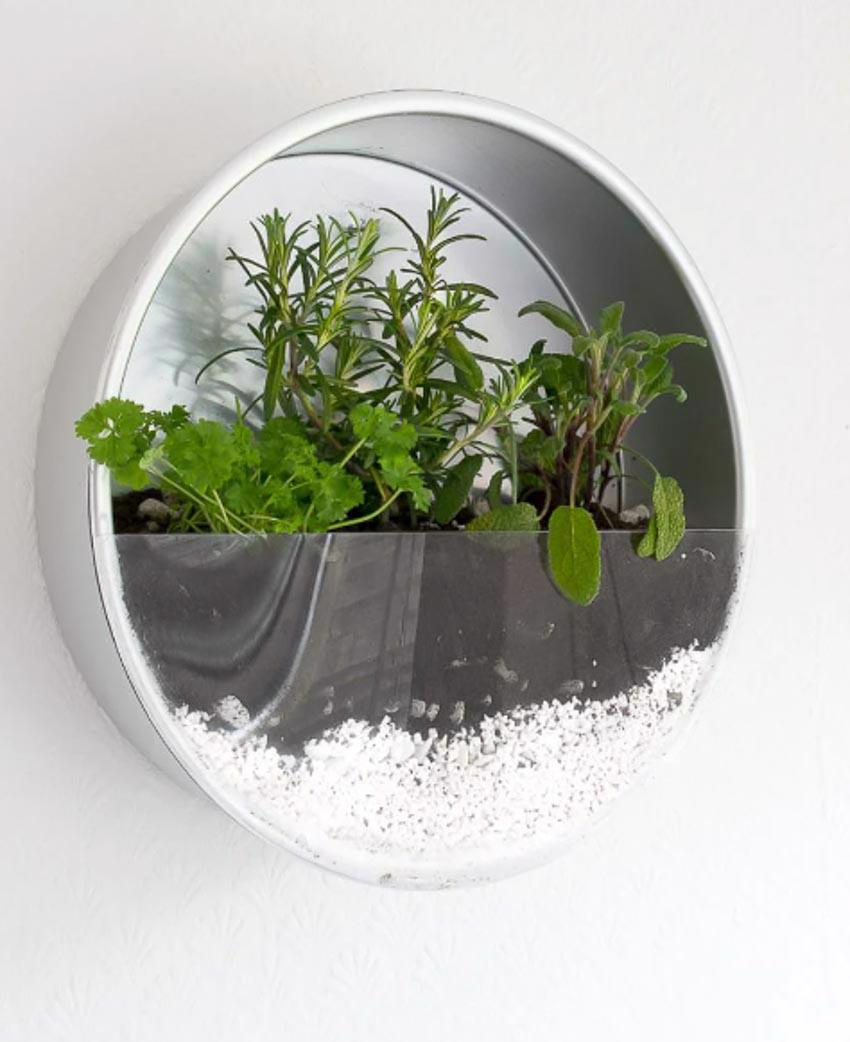
If you’re one of those people who open the kitchen drawer and find dozens of baking molds, some almost unused, don’t miss this DIY for creating a tiny home garden. You will be able to repurpose your utensils and have fresh herbs at home.
Materials:
- Baking pan (the largest you have)
- Gravel
- Potting soil
- Aromatic herbs
- Scissors
- Glue
- Hard plastic sheet
- Marker pen
- Scissors
Steps:
- Clean the round cake pan thoroughly. It is valuable because it cannot be removed.
- Make a semicircle with the plastic sheet on top. Make a mark with the pen and cut it out.
- Place the crescent on the mold and allow it to dry. Before proceeding, ensure that it is properly repaired.
- Place some gravel around the perimeter of your little garden.
- Fill the container with topsoil, then plant the aromatic plants or seeds you want to see grow.
4. Mini vegetable garden with pallet
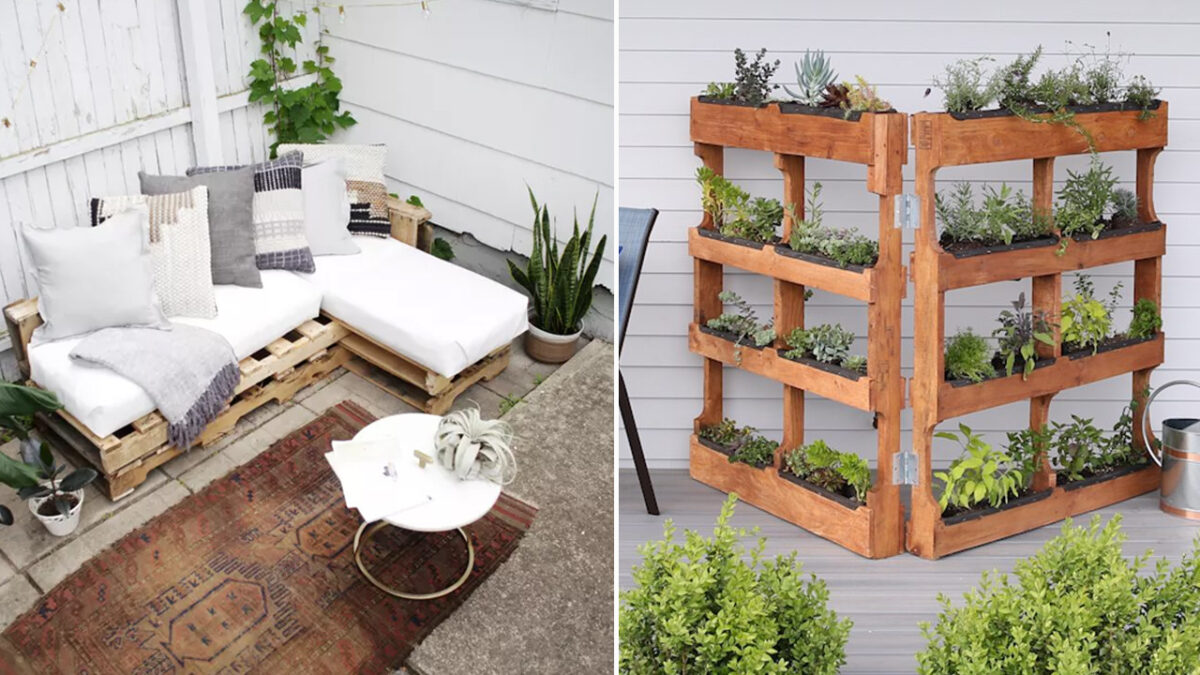
If you don’t have enough space for a tiny garden, try making it vertical. It can be hung on the house’s front walls or placed on the terrace or balcony to continue enjoying fresh veggies and fruits in season.
Materials:
- 2 equal pallets
- 2 hinges
- Screws
- Manual or electric screwdriver
- Crowbar (depending on the pallet)
- Sandpaper
- Varnish
- Plastic for an urban garden
- Scissors
- Stapler
- River stones
- Plant land
Steps:
- Remove the alternate boards with the crowbar if the pallets have a number of cross beams.
- To avoid splinters, sand the finished product.
- Allow curing after applying a coat of varnish.
- Place the hinges so that they connect and may be folded between the two pallets.
- Cut the plastic to the width of the pallet crossbars.
- Make a pouch from it to fit between the front and back shelves. Glue to the surface.
- Put some river stones, dirt, plants, and water in each bag.
5. Vertical garden
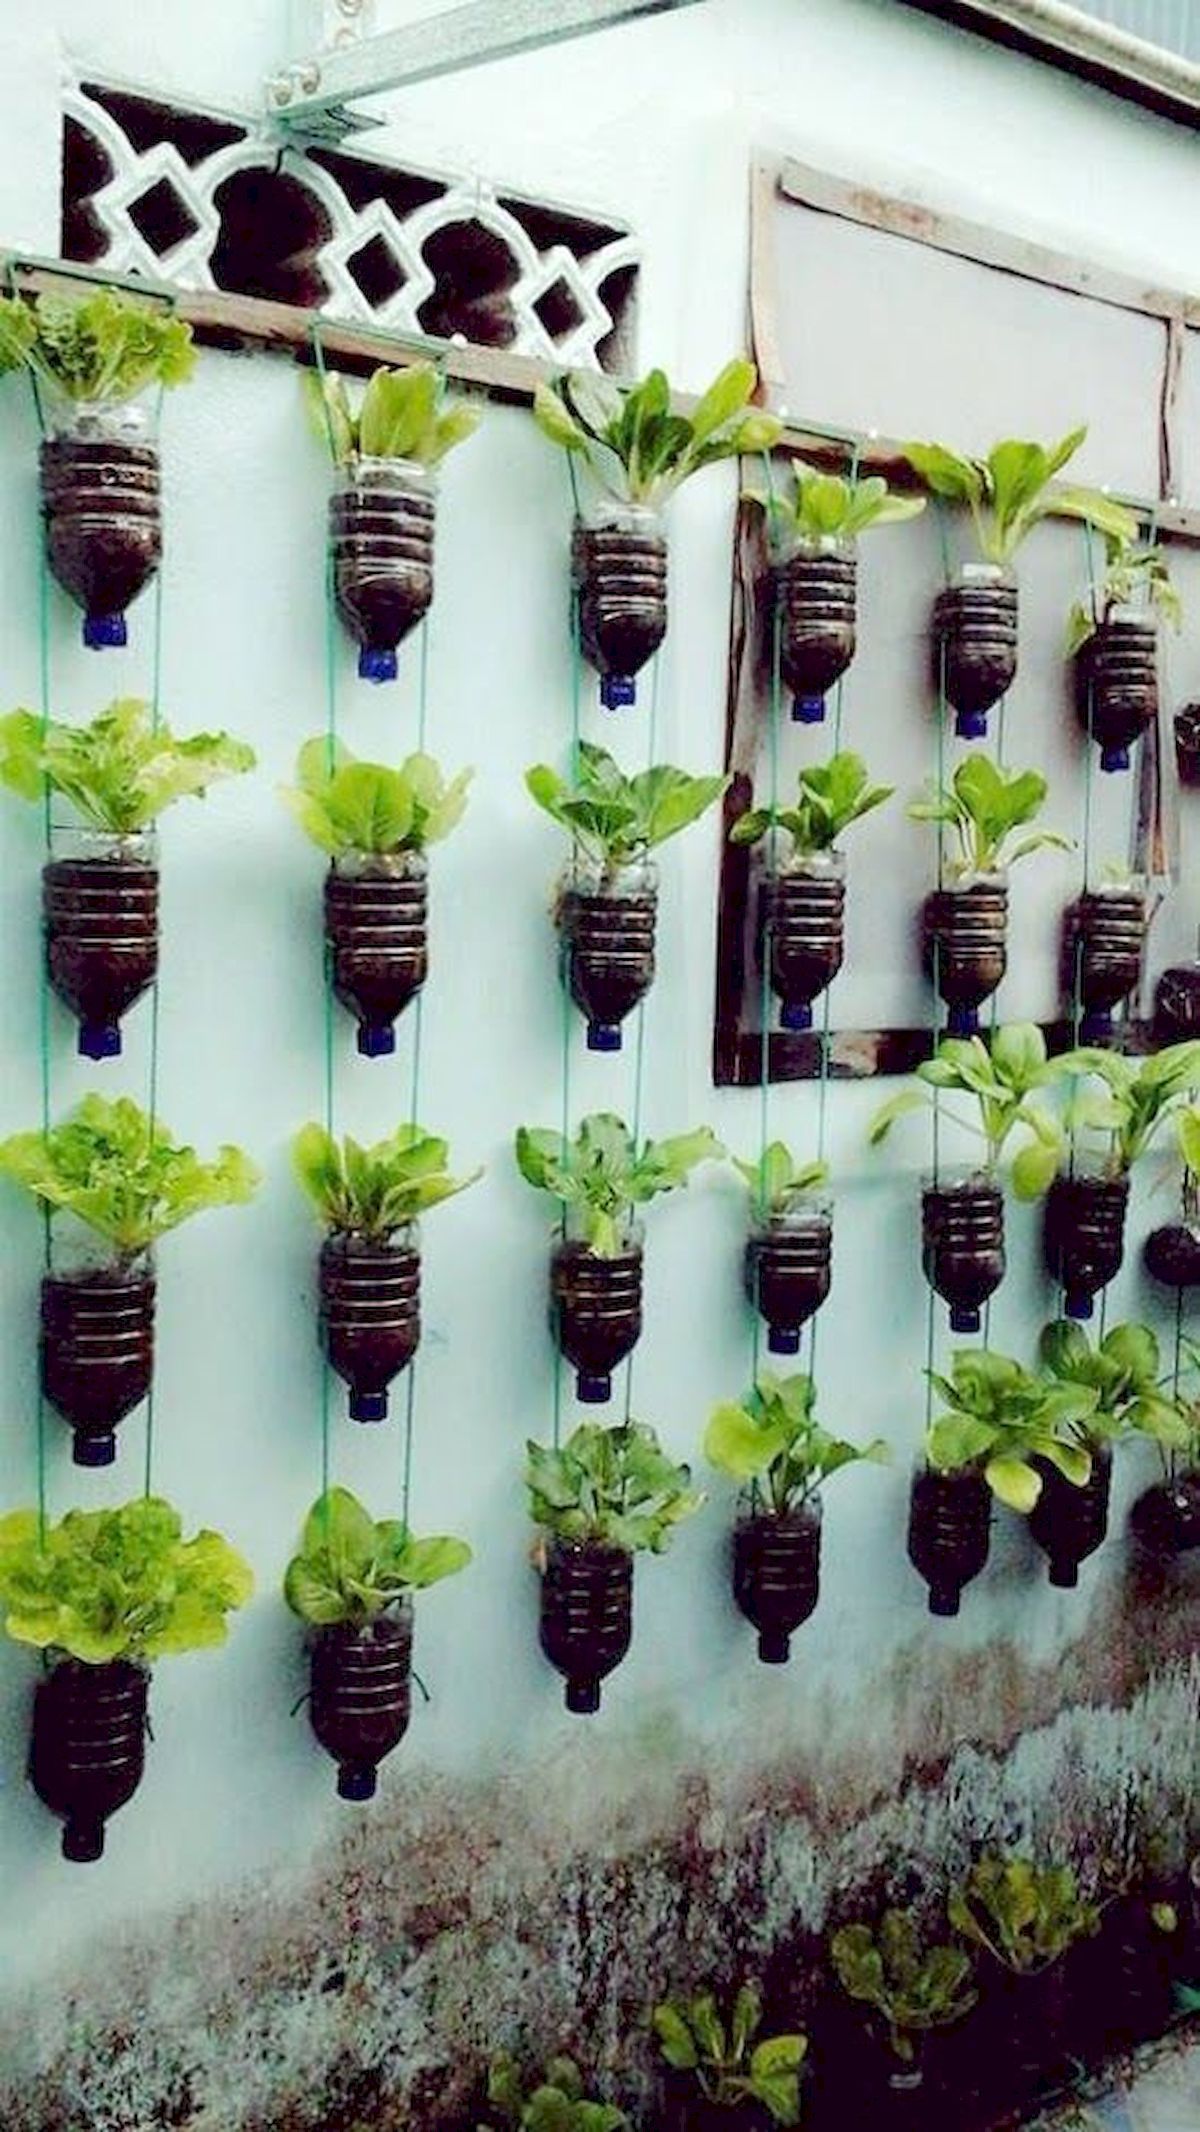
Do not yet transfer the bottles you have at home to the plastic container. They can be used to grow sprouts, cherry tomatoes, strawberries, and aromatics all year round in a household vertical garden.
Materials:
- Plastic bottles with cap
- Drill
- String or rope
- Gravel
- Land
- Knife
- Floors
Steps:
- Make sure that all of the bottles are the same height.
- Make two holes on the sides of each of them with the punch.
- Make a larger hole in the stopper to allow the water to filter.
- Thread the string through the bottles’ openings on the right side. Connect four and five, depending on the height of the wall where you choose to set your vertical garden.
- Don’t forget to tie a knot to keep the bottle from slipping. Allow enough space between them to accommodate the plants.
- Repeat the procedure for the holes on the left side.
- Make use of the bottles as plants.
- Hang on some kitchen shelves or on some nails outside the house.
6. Garden with rain gutters
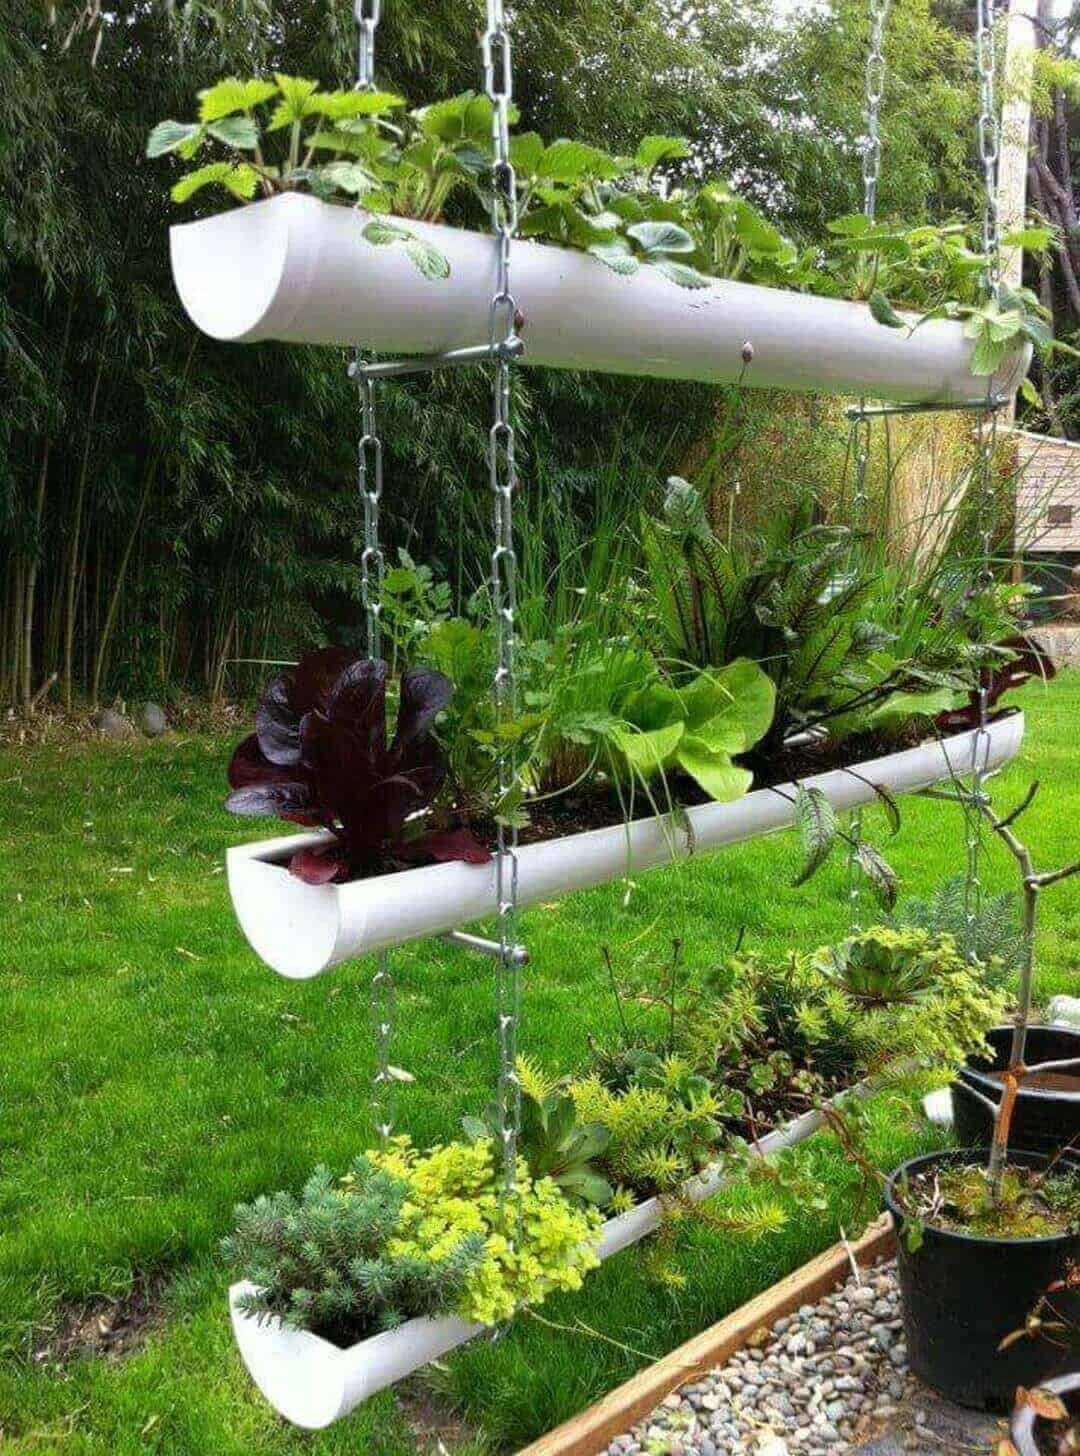
Some rain gutters can be the ideal support for a little urban garden at home. You’ll need some tools and some patience to start eating your own fruits and vegetables.
Materials:
- 3 PVC or metal rain gutters with lids on both sides
- String
- 4 metal pins or tubes
- 8 nuts
- Stones
- Land
- Floors
Steps:
- Hang one end of the chain from the highest point on the wall where you want your home garden to be located.
- Drop to the desired height for the lowest planting.
- Return the chain to the top and securely fasten it.
- Repeat with the second.
- Allow enough space between them so that they can support the weight of the pots.
- Fill gutters with soil and gravel. You choose where you want your plants to grow.
- Place one on the inside of the chains, like a swing.
- Support the next one with a metal tube or pin. It’s held together using nuts.
- Repeat with the third shelf.


