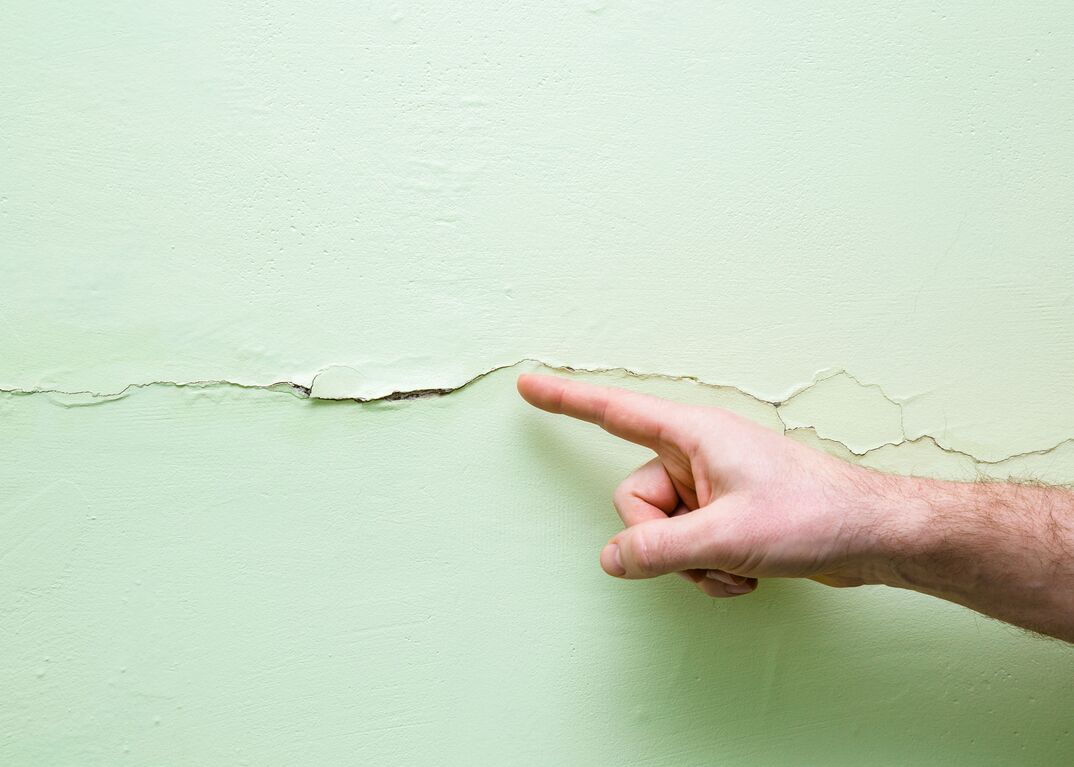
Wall cracks are a typical issue in many houses. Cracks can form and impact the appearance and integrity of the walls owing to the natural settlement of the house, changes in temperature or humidity, or simply the aging of the building. Fortunately, mending small cracks in your home’s walls is not difficult and maybe a satisfying DIY effort. In this post, we will provide you with some practical advice on how to repair small cracks in your home’s walls.
Step 1: Preparation

It is critical to carry out proper preparation before beginning to fix the cracks in the walls. Here are some important actions to take:
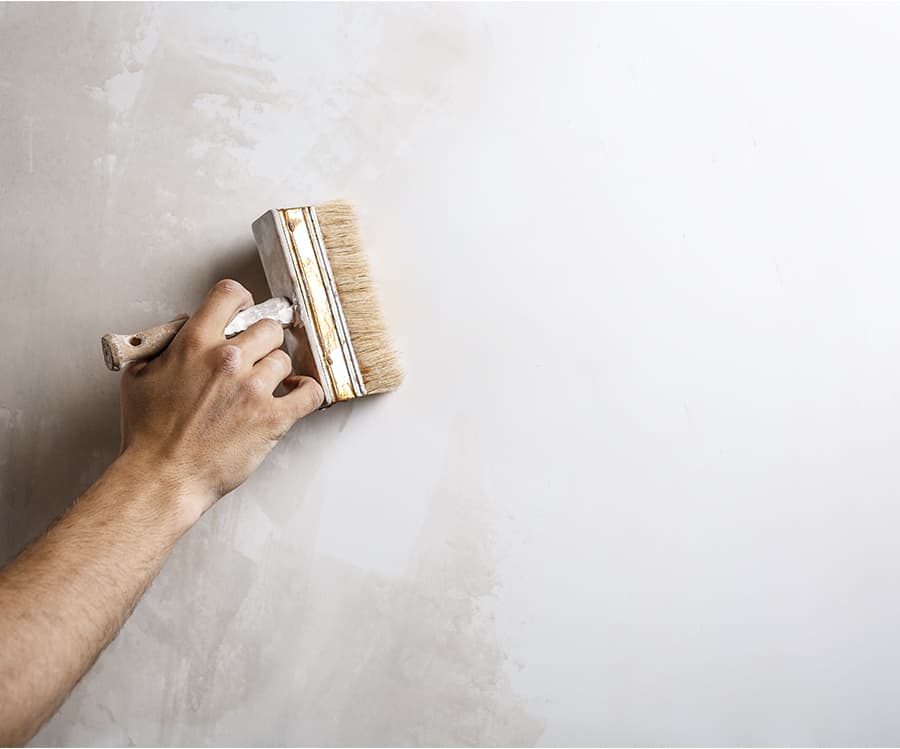
- Clean The Affected Area: Clean up any dust, grime, or debris in the crack area with a paintbrush or brush. Before continuing, ensure that the surface is clean and dry.
- Remove Any Loose Paint: Remove any loose or peeling paint around the gap using a putty knife or scraper. This will help the patch adhere to the wall better.
- Apply V-Shaped Tape: Apply V-shaped tape over the crack to keep it from expanding after the repair. This will create a strong foundation for the repair and keep the fracture from growing larger over time.
Step 2: Applying The Patch

When you’ve finished preparing the affected region, it’s time to apply the patch. Here are some things you can do:
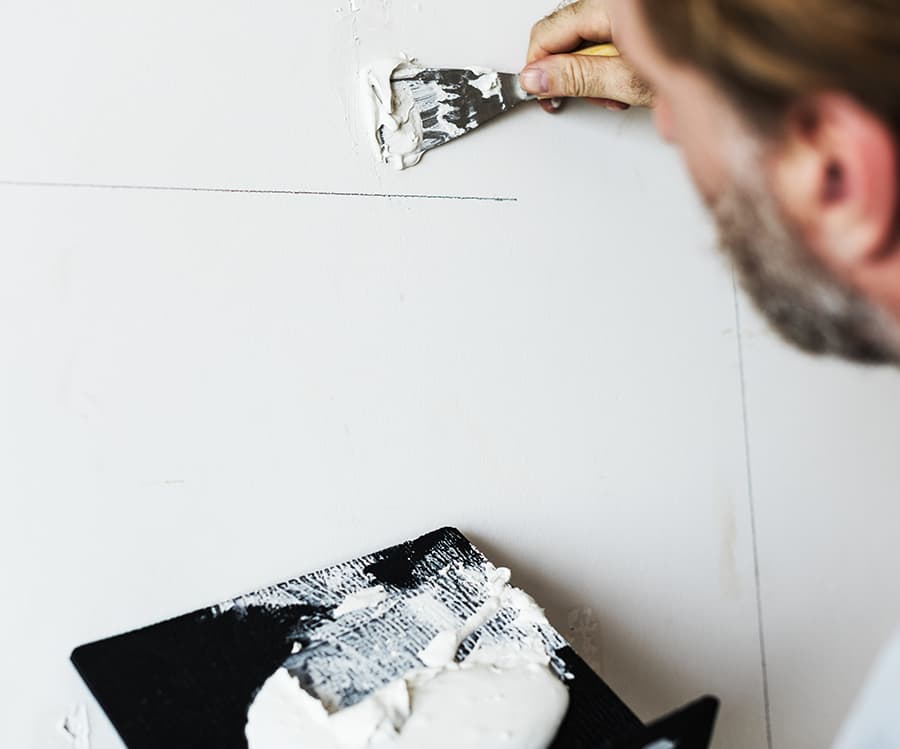
- Mix Patching Compound: Patching compound can be purchased at any store. To properly mix the compound, adhere to the manufacturer’s recommendations. Typically, you’ll need to add water and mix until the mixture is smooth and creamy.
- Apply The Compound to The Crack: Apply the compound to the crack with a putty knife or trowel, making sure it is completely filled. With the putty knife, smooth the surface to match the surrounding wall.
- Remove The Adhesive Tape: If you used V-shaped tape to cover the crack, remove it gently before the compound dries entirely. This will result in a crisp, defined line on the wall.
Step 3: Sand and Paint

After the patching product has cured fully, sand and paint the mended area. The following are the last steps:
- Sand The Repaired Area: Lightly sand the repaired area with fine-grit sandpaper to make it smooth to the touch and level with the surrounding wall. Use a clean cloth or vacuum to remove any sanding dust.
- Apply Primer: To ensure that the fresh paint adheres properly, a thin layer of primer should be applied to the repaired area. Apply the primer according to the manufacturer’s directions and let it dry as indicated.
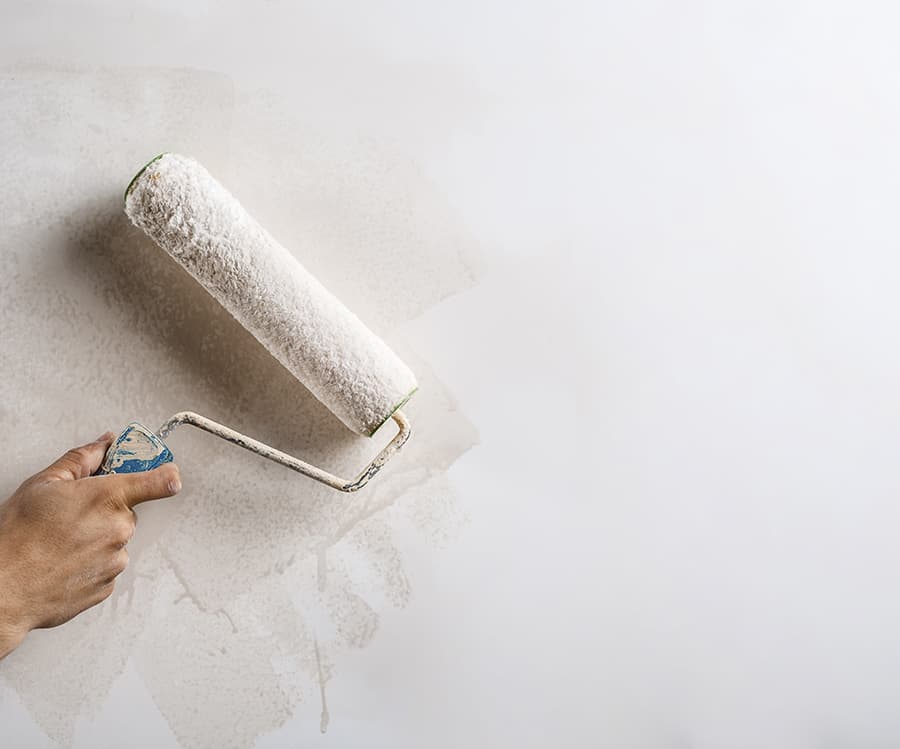
- Paint The Repaired Area: Finally, paint over the repaired area with the same color and type of paint you used on the rest of the wall. Depending on the size of the mended area, you can use a brush or a roller. For an even finish, apply multiple thin layers of paint, allowing each coat to dry completely before applying the next.


