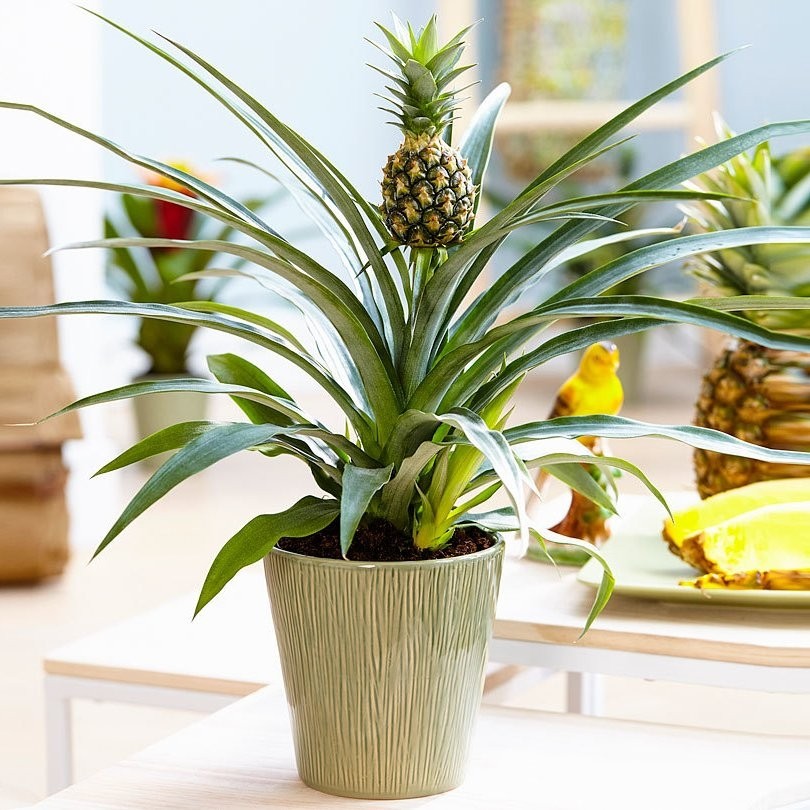
Have you ever wondered what the plant looks like that produces the pineapple we eat? It’s a perennial plant (meaning it keeps its leaves all year) that blooms and produces fruit once a year. The most intriguing aspect is that you can easily – and with a lot of patience – recreate it in your own home.
Isn’t it incredible? Take attention and keep reading because today we’ll show you how to plant a pineapple in a pot in your own home step by step. Trust us when we say that your next trip to the greengrocer should contain a whole pineapple.
What will you need?
- A natural pineapple (if it is a little green, the better)
- Cutting board
- Kitchen knife
- glass jar
- Flowerpot
- Substratum
- transparent plastic bag
How to Root a Pineapple Step by Step
The initial stage in growing a pineapple in a pot with soil is to get little roots from the pineapple’s ‘tuft’ of leaves, which will then grip onto the substrate. We’ll show you how to get your hands on those roots:
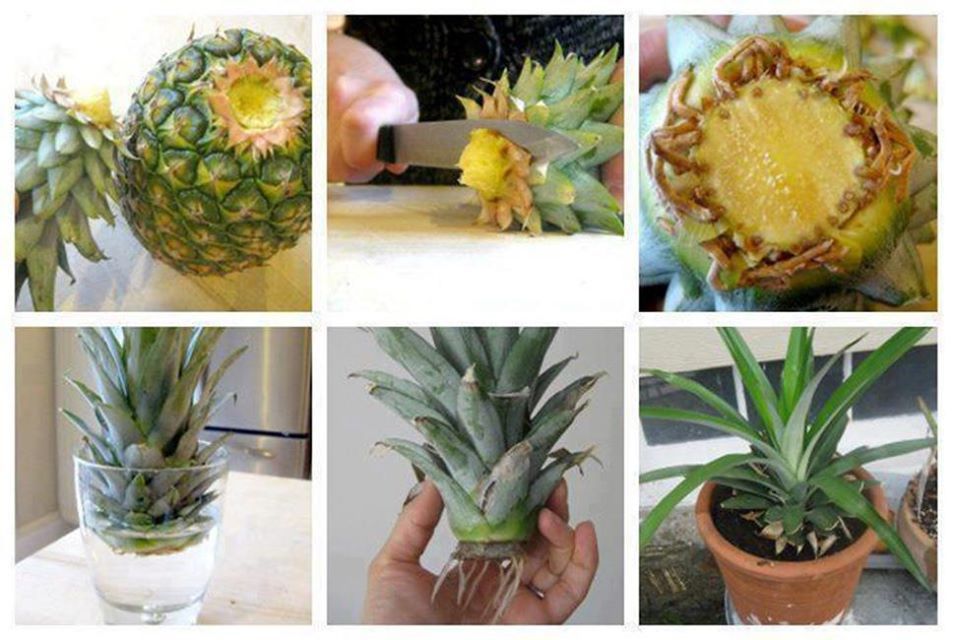
Cut The Pineapple Crown
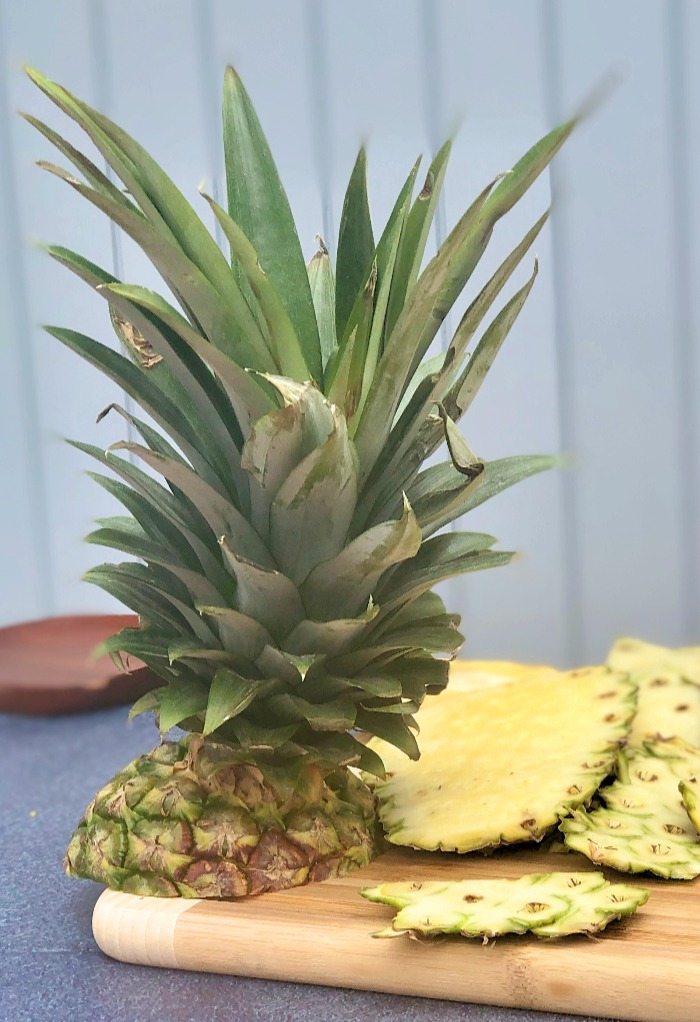
Cut out the leafy part of the pineapple (the crown or ‘plume’) on a kitchen board. If it’s really ripe, a large normal kitchen knife will suffice, but a bread knife, which usually has a serrated blade and is large, will always be slightly simpler.
Remove The Remains of Pulp
Trim any residual pulp around the trunk using the same knife, almost flush with the leaves (with a small ‘neck’). It’s crucial to remove as much flesh as possible before planting the pineapple since it won’t help the new plant grow — it’ll just rot and obstruct the growth of new roots.
Clean The Root of The Leaves
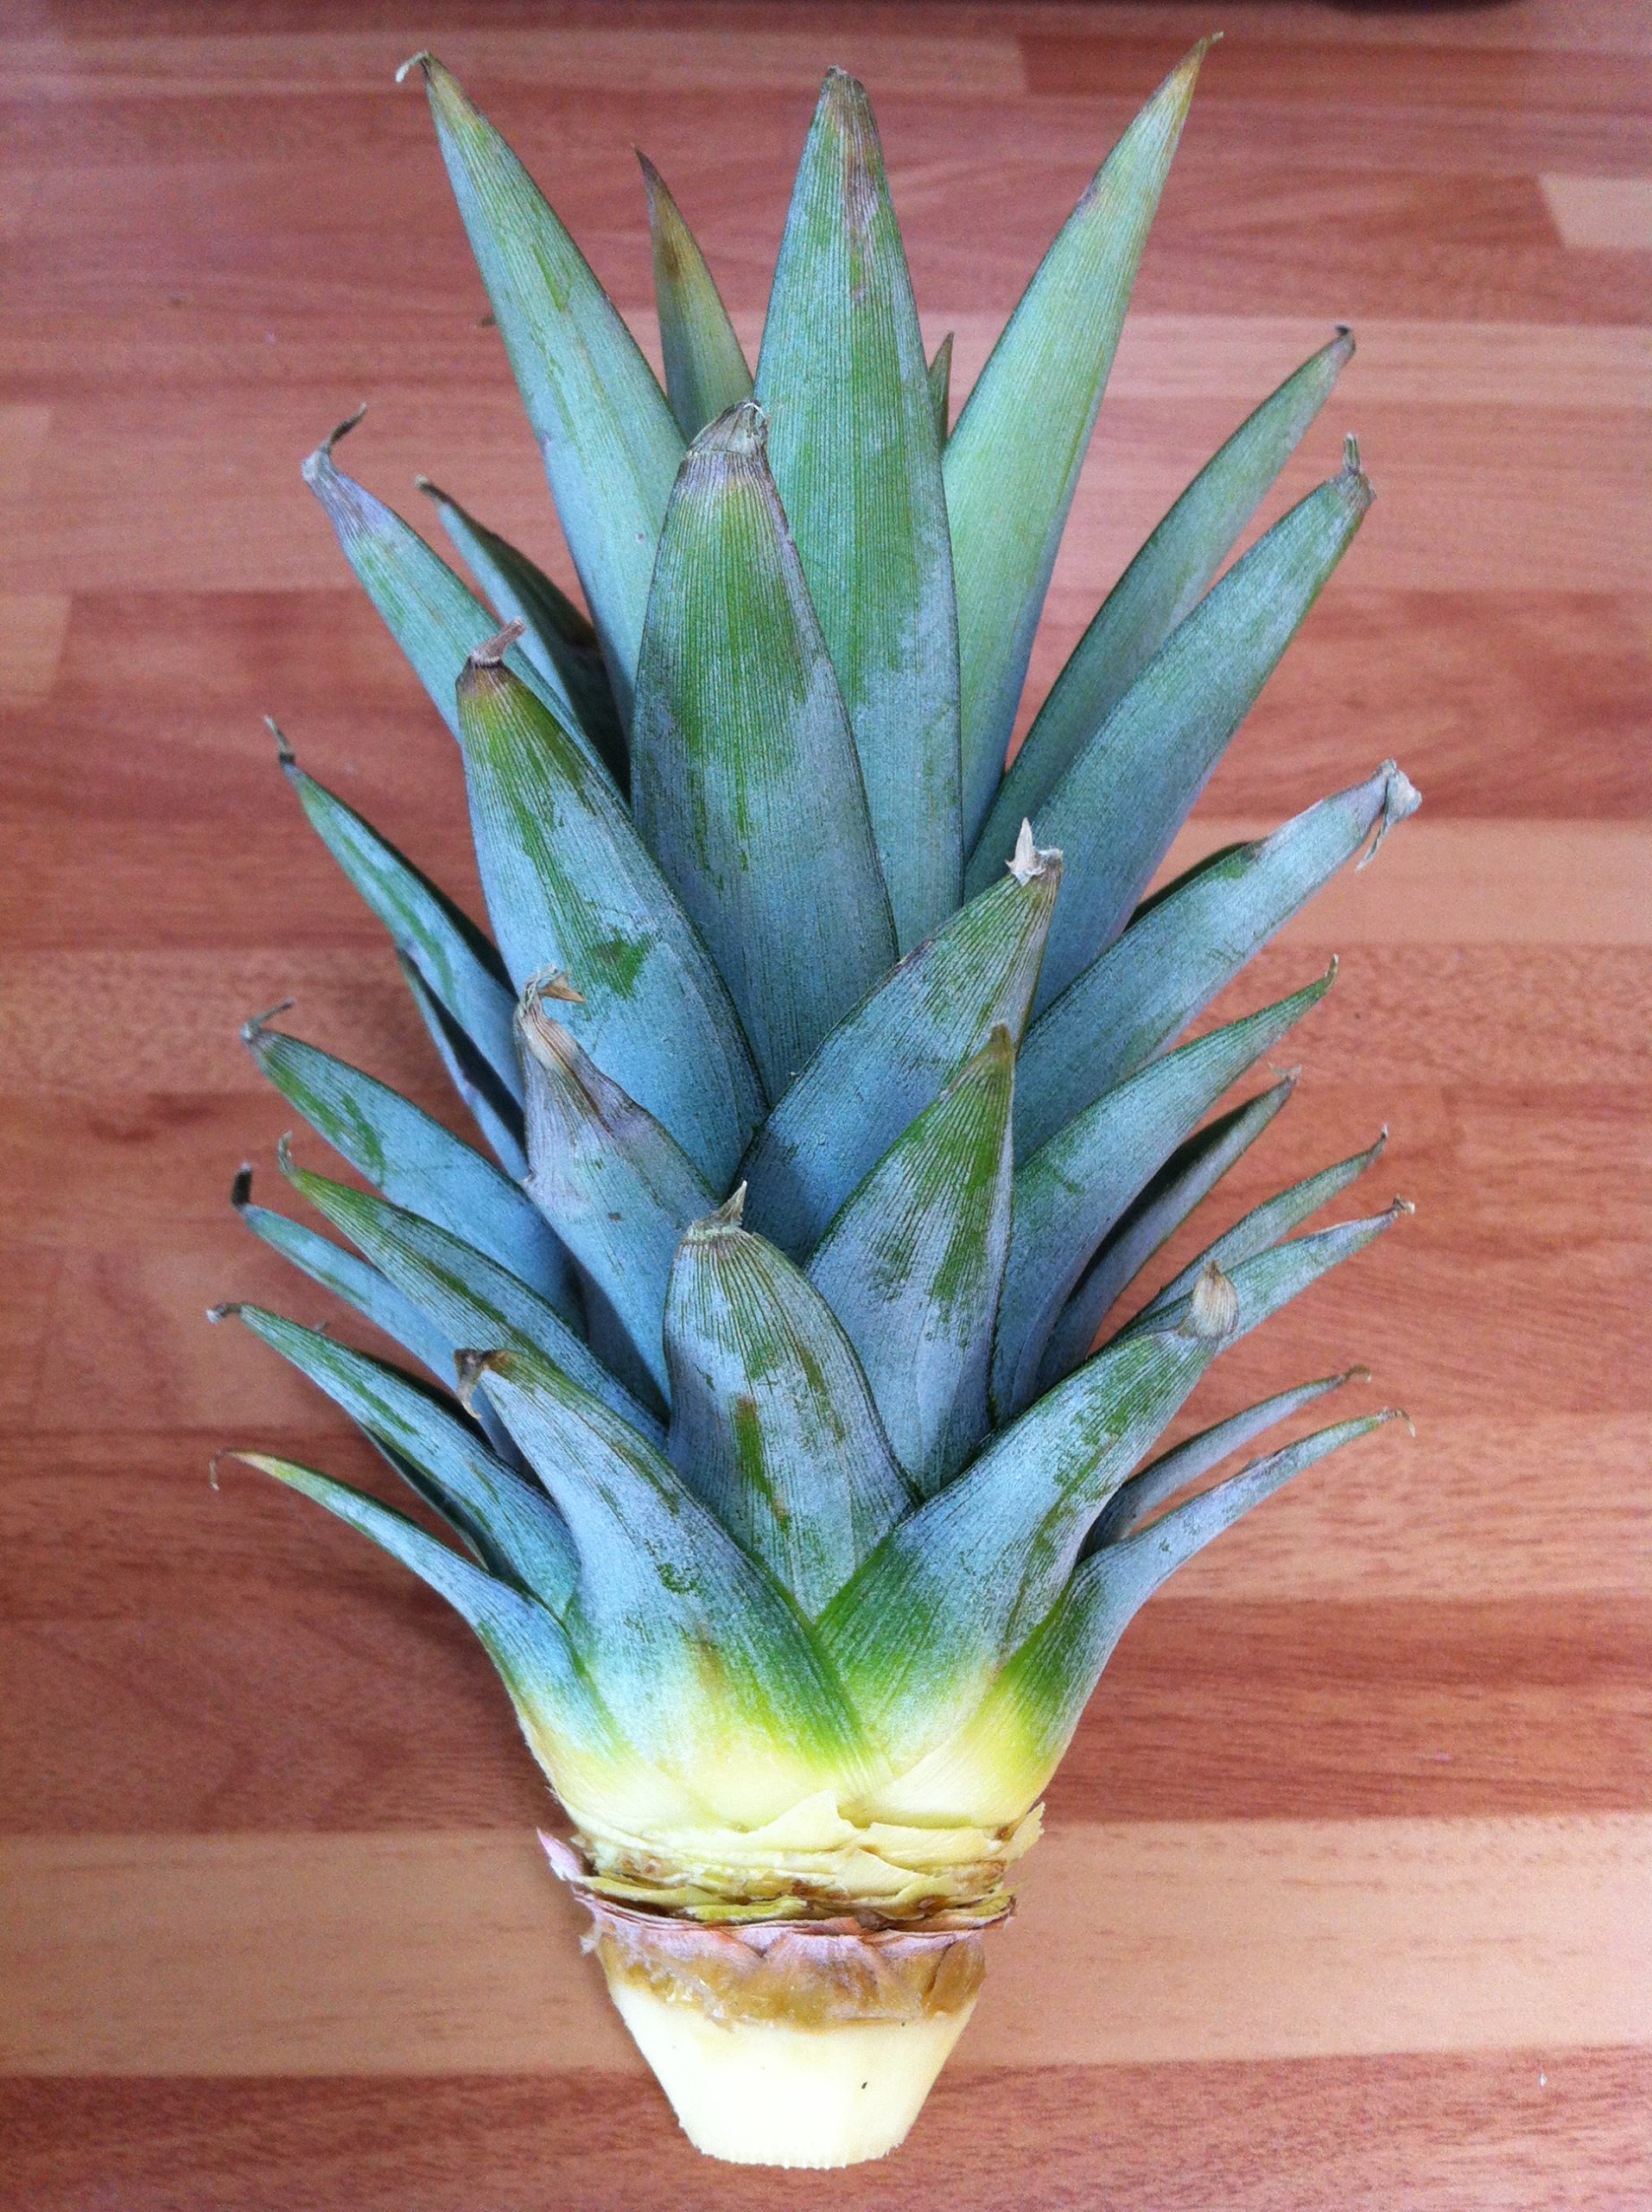
Simply ‘peel’ the part of the pineapple trunk with your hand to clear and leave it clean. The same thing happens to the leaves as it does to the pulp: if they come into contact with water, they rot and stifle growth.
You don’t have to remove all of the leaves; on the one hand, start with the ones at the base that are in bad shape and gradually remove more until you reach around 2 cm of the neck. Keep in mind that only very green and lively leaves should be left. If you look closely, you’ll notice that a section of the trunk already has some small germinated roots, so you can guess where they’ll continue to grow!
Put The Clean Crown in Water
Look for a transparent glass container or a glass jar in which to germinate the pineapple. Because the leaves are quite heavy, a container with some weight will be more practical to keep it from tipping over (for this reason, something made of glass is better than a cut-out plastic bottle, for example). It’s preferable if it’s transparent, as you’ll be able to observe the evolution and when it needs to be refilled with water.
It’s critical that the container’s mouth supports the crown so that the water only wets the trunk and not the leaves, which would cause them to decay. If the pineapple was small, or you had to remove a lot of leaves and the crown was not very big, a glass jar of yoghurt works well because it has a narrow mouth (and it also has a pineapple-like shape, so it will be decorative wherever you put it!). If you’ve been able to retain a good portion of the plume in good shape, seek finding a larger jar that still adheres to the guidelines we’ve laid down for you.
As time passes, make sure that the water covers the majority of the exposed trunk. Aside from that, there’s no upkeep! Don’t worry; the tips of the leaves will dry out as part of the pineapple’s natural age process, so you may leave them alone or trim the dry tips if desired. Of course, if you notice a rotting leaf, remove it to avoid contaminating the others.
A small leaf may appear in the center after a few weeks, but the pineapple will have established roots and will be ready to be transplanted to a pot. You can even halt the process here and leave it to live in water for years if you like. This option appeals to us as well.
How to Plant a Pineapple in a Pot with Soil
Although you can put the pineapple crown right into the ground (without waiting for it to take root), you will usually have better results if you take your time and undertake the intermediate step. You’ll also miss out on a fascinating phase of the process if you bury the trunk before roots. If you want to plant the pineapple in a container with the roots, keep the following instructions in mind:
Put The Soil in a Pot
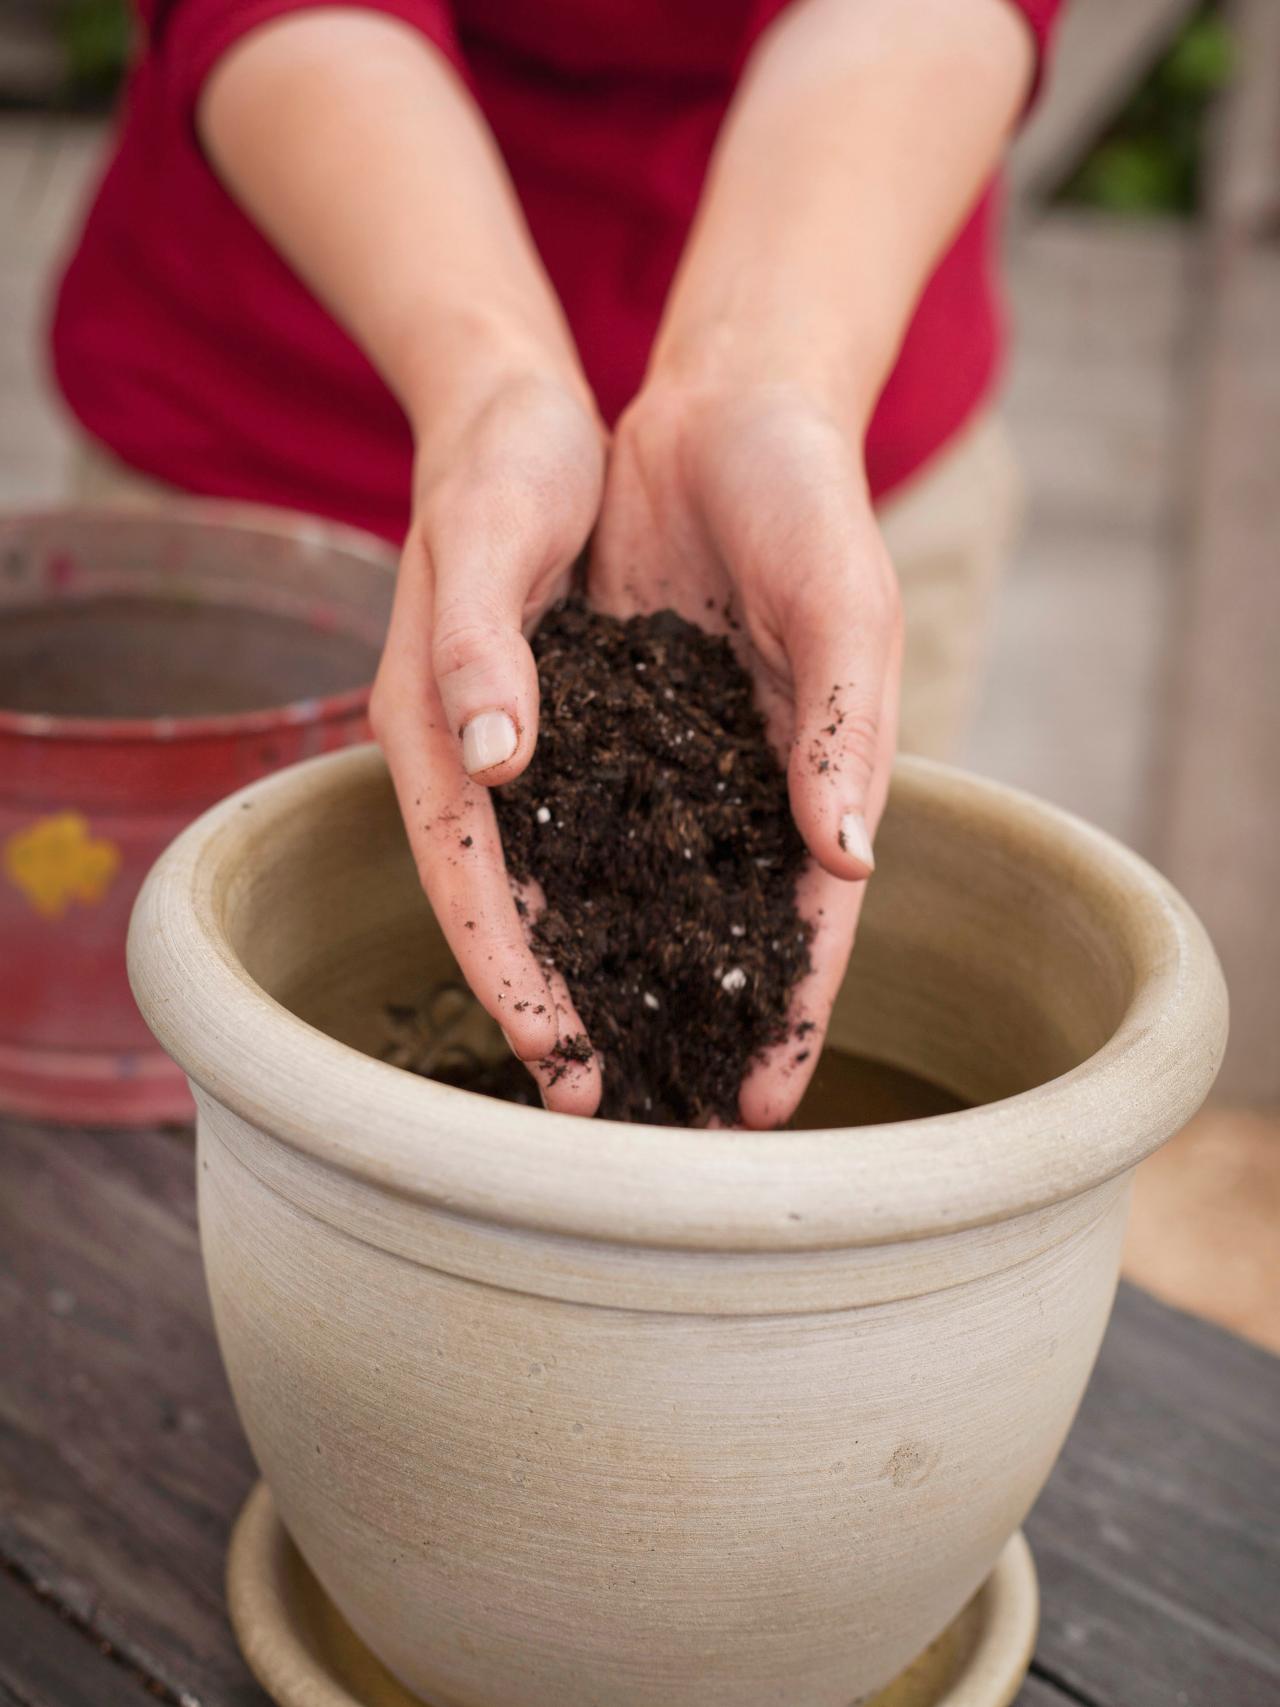
Add a good plant substrate to a pot (preferably clay with a drainage hole in the bottom). Fill it to the brim, or almost to the brim.
Plant The Pineapple
Open a hole in the center of the container large enough for the pineapple’s entire trunk to fit in with the roots that have grown. The earth must completely cover the entire root. Take care not to injure the roots by inserting them and forcing the plume against the ground.
Gently press the dirt to close the rest of the hole, ensuring that the crown is straight, hard, and secure.
Water and Cover The Pot
Once it’s been planted, give it plenty of water and a good squirt of water on the leaves.
Next, using a pen or scissors, make a few small holes in a clear plastic bag (food freezer bags work well). Cover the plant completely with the bag and secure the bag’s end to the pot, making it ‘tight’. You can accomplish it with tape, such as painter’s tape, which is easy to stick to and remove off. As a result, your pineapple will live in a sort of home-made greenhouse: remember, pineapples are tropical plants that thrive in heat and humidity.
Because the heat and moisture will stay inside the plastic if the bag is properly sealed, you will only need to water it sparingly. The ideal situation is for the substrate to be slightly moist all of the time, but not soggy or waterlogged. You can observe if you need to remove the bag to water and spray the leaves or if you can wait a few days through the bag. Once the pineapple has adapted to its new environment (ideally outdoors and in the sun), you’ll be able to determine how often it needs to be watered.
How to Care for a Pineapple Plant
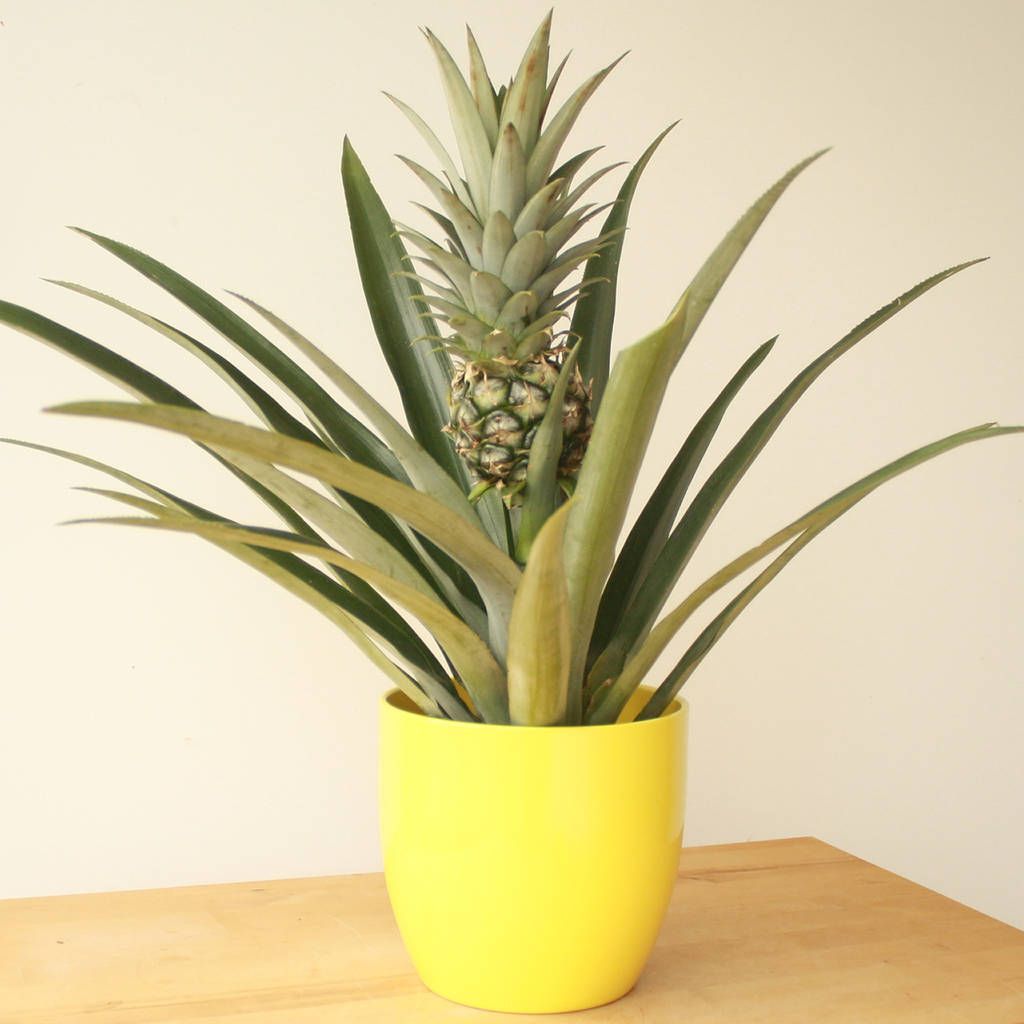
When fresh leaves begin to sprout from the plant’s center, it’s time to remove the plastic and let it live on its own. Be careful; once you remove the bag, you will lose the humidity that the ‘greenhouse effect’ provided. You will need to water it more frequently from then on. The old leaves on the outside will eventually dry out. Remove them with caution, but don’t be concerned; the important thing is that the center bud is still alive and growing.
That’s it: your pineapple plant has acclimated to its new environment, and with any luck, it will continue to develop over time (it could take a couple of years) until the bloom that will become a new pineapple emerges (yes, edible!). Because these plants can get rather large, you should consider transplanting them to larger pots when the time comes.


